Subway tile adds a classic look to any kitchen backsplash and is truly a timeless design piece. If you’re considering using this versatile tile for your kitchen backsplash, here are some of the different ways the tile can be laid, each providing its own lovely effect.
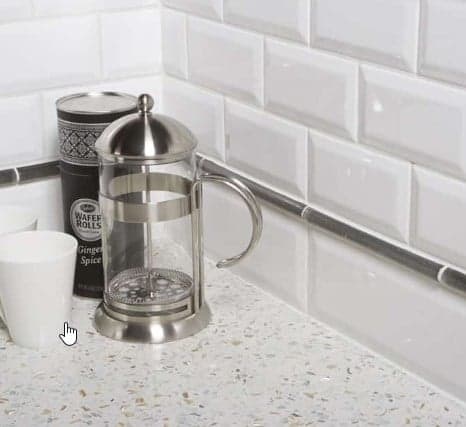
1. Offset Brick
With an offset brick pattern, the subway tile is laid as described – like bricks. Also known as running bond, this layout is the way we most often see subway tile displayed, as it’s the most traditional and common.

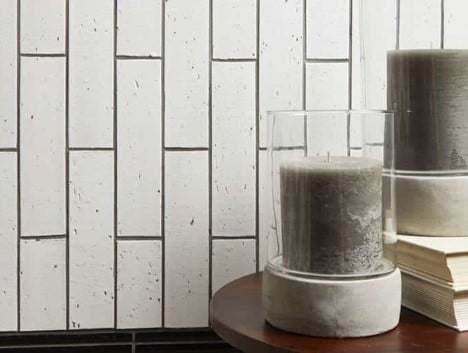
2. Offset Brick Vertical
To create a slight twist, while still maintaining the traditional look the offset brick pattern provides, turn the subway tiles 90 degrees so they run vertically. This look is especially appropriate for a more spacious area that has some height and would be perfect for a backsplash design that extends all the way up to the ceiling.
3. Diagonal
For another variation of the running bond, rotate the entire pattern 45 degrees to create a diagonal design. This pattern layout is very dynamic and eye-catching, with a more modern feel.
4. Stacked Horizontal or Vertical
Stacking subway tile horizontally or vertically provides an orderly, symmetrical grid that’s great for those wanting a bold yet minimalist look. This simple and stylish design layout is well suited to smaller spaces.

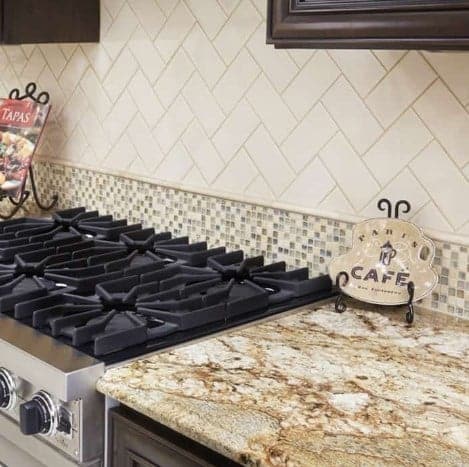
5. Herringbone
The herringbone pattern is popular in floor designs, but also makes a wonderful kitchen backsplash design. In this pattern, rows of tile are laid in slanted parallel lines, with the direction of the slant alternating row by row. Subway tile looks beautiful when portrayed in this distinct V-shaped weaving pattern.
Whichever way you choose to lay subway tile, you’re sure to end up with a kitchen backsplash that you love! To discuss using subway tiles to design your kitchen backsplash, stop by any of our Arizona Tile locations to speak with one of our professionally trained consultants.


